Touring Foreclosures and As-Is Homes: A Viewing-Day Checklist
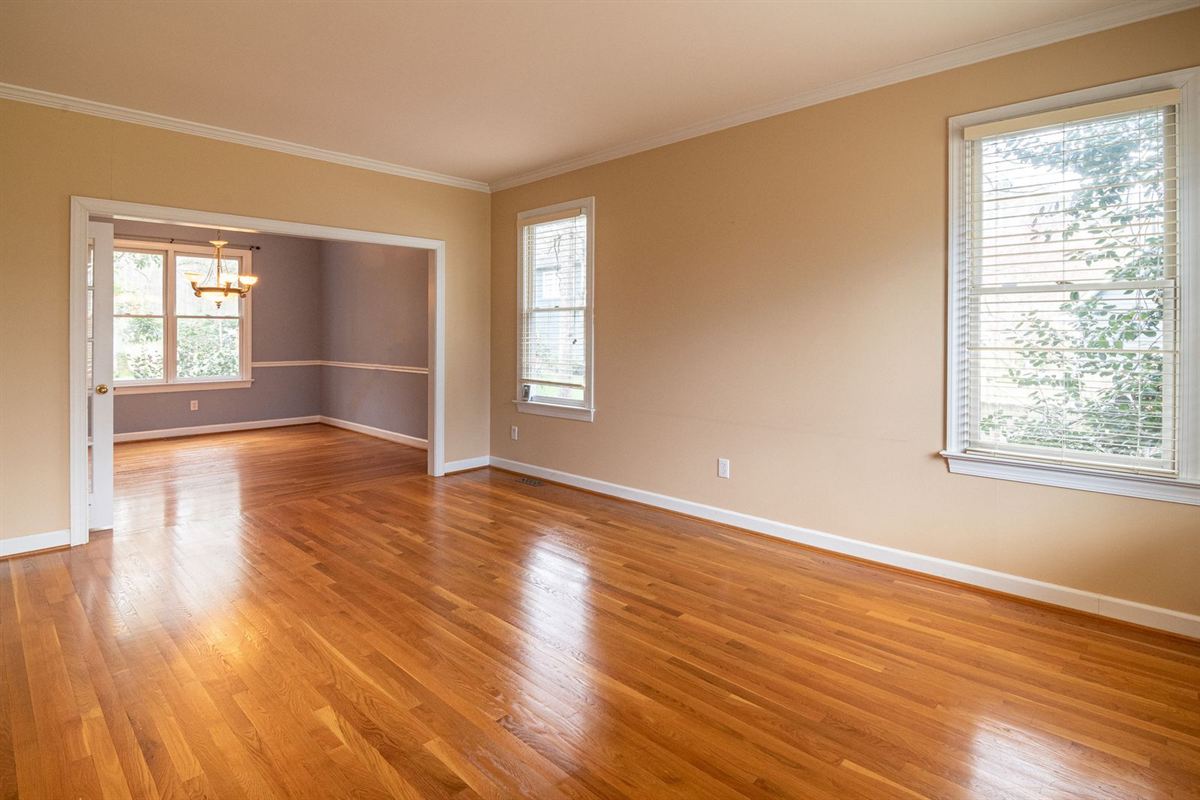
Photo: Curtis Adams / Pexels
Listing photos rarely tell the whole story of a foreclosure or as-is home. A vacant house can look fine online and still hide a leaky roof, a missing water heater, or a damp basement. A well-planned viewing day helps you spot the big issues early, so you spend inspection money only on homes that deserve a closer look.
This checklist covers what to do before, during, and after your tours. It is not a substitute for a professional home inspection. Think of it as a first screen that helps you decide which homes make your shortlist.
Plan Your Viewing Day
- Narrow your list the night before. Review each home’s photos, property facts, sales history, and tax records, and use street and satellite imagery to rule out obvious deal-breakers.
- Confirm every showing. Request showings in advance, confirm times with the listing contact, and check each home’s status that morning so you do not drive to one that just went under contract.
- Map a sensible route. Group homes by area and leave time between stops for notes.
- Go in daylight. Vacant homes may have the power off, so natural light makes a big difference.
- Bring a second set of eyes. A spouse, family member, or co-buyer can catch things you miss.
Ground Rules: Permission, Privacy, and Utilities
- Only go inside with permission and with your agent or the listing contact present. Never enter a vacant home on your own, even if a door is unlocked.
- Respect occupied homes. Pre-foreclosure homes are often still lived in. If a home is not being shown, view it only from the street, and do not approach the residents or walk onto the property.
- Leave the utilities alone. Do not switch on breakers, open water valves, or relight a furnace or water heater. Vacant homes may be winterized, meaning the plumbing was drained to prevent frozen pipes, and turning the water on can cause damage.
- Leave everything as you found it. Do not open locked rooms, move belongings, or take anything.
- Watch your step. Skip attics, roofs, and crawl spaces; those are jobs for your inspector.
If you decide to move forward, your agent can ask the listing contact how utilities can be turned on for the inspection and who pays for it. Some sellers, including HUD, require a formal request first.
If something feels wrong, step outside. Signs that someone is staying in a vacant home, strong gas or sewage odors, or exposed wiring are reasons to leave and tell your agent or the listing contact. If you smell gas, call 911 or the gas company once you are a safe distance away. Do not investigate on your own.
What to Bring
- A bright flashlight and spare batteries
- A charged phone for photos, short videos, and notes
- A tape measure for rooms, doorways, and the garage
- An outlet tester, if the power is on and the listing contact is comfortable with it
- This checklist, printed or saved on your phone
- Sturdy closed-toe shoes
Outside the Home
- Roof: from the ground, look for missing or curling shingles, sagging lines, and patched areas.
- Gutters and drainage: are gutters attached and downspouts aimed away from the house? Does the ground slope away from the foundation?
- Foundation: note cracks, especially wide, horizontal, or stair-step cracks, and any walls that bulge.
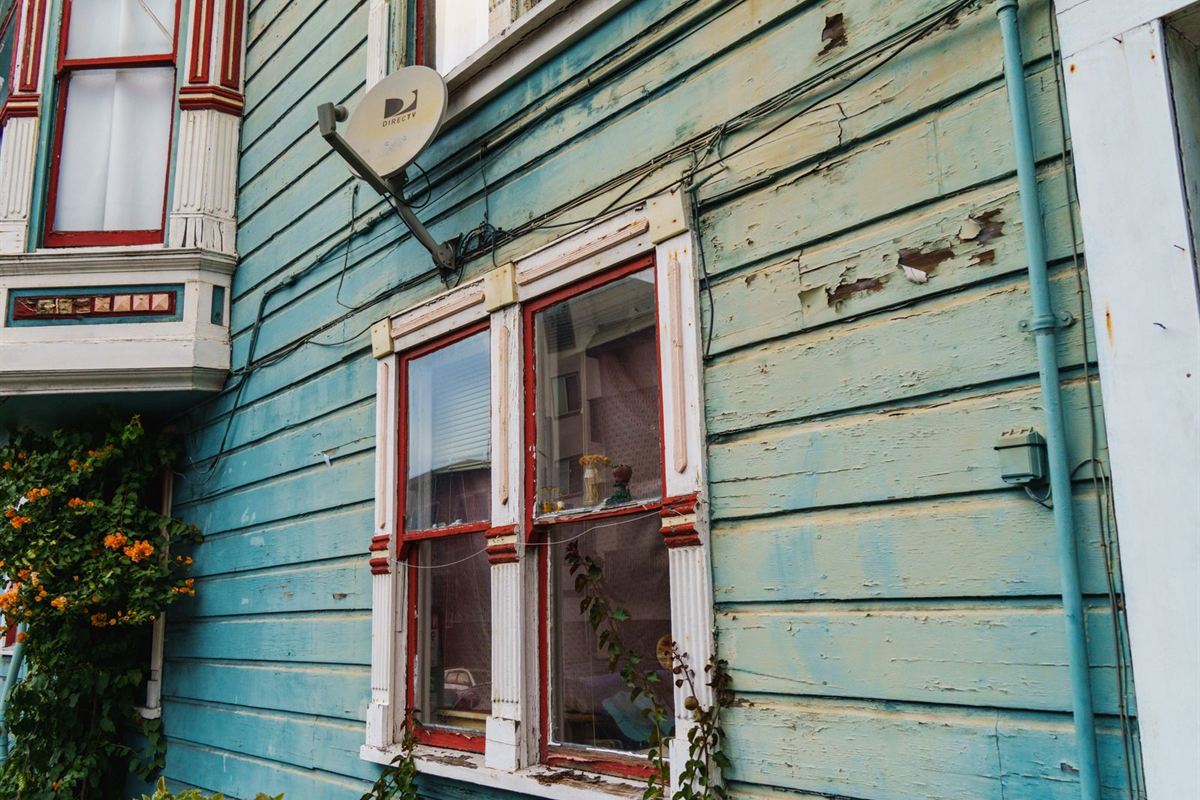
- Siding, trim, and windows: look for rot, peeling paint, broken glass, and boarded-up openings.
- Equipment: check that the outdoor air conditioning unit and the electric meter are actually there.
- Additions and outbuildings: note rooms, garages, or sheds that look added on, and ask later whether they were permitted.
Inside, Room by Room
Ceilings, Walls, and Floors
- Water stains, sagging ceilings, or a freshly painted patch on an otherwise older ceiling
- Musty or damp smells, which can point to leaks or mold
- Soft, warped, or buckled floors, and doors or windows that stick
Kitchen and Bathrooms
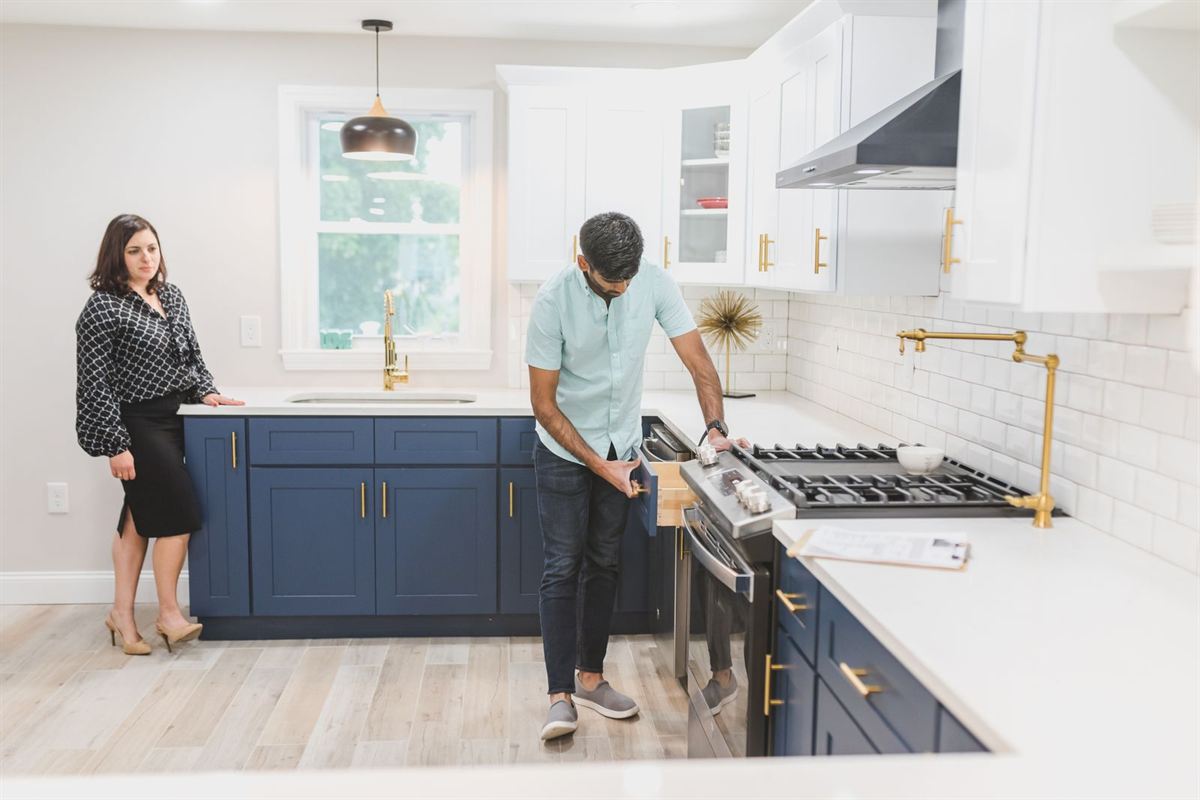
- Missing appliances, cabinets, faucets, or light fixtures, which are not unusual in foreclosures
- Stains or damage under sinks and around toilets and tubs
- Cracked tile, loose toilets, and soft spots in the floor
Basement or Lower Level
- Water lines on walls, white chalky deposits, or standing water
- A sump pump, if there is one, and where it drains
Systems to Note, Not Touch
- Electrical panel: look, but do not remove any covers. Note rust, scorch marks, or a missing panel cover.
- Water heater and heating or cooling equipment: photograph the labels. They often show a manufacture date or serial number your inspector can use to estimate age.
- Plumbing: look for missing or cut pipes, which can happen in vacant homes, and stains below fixtures.
- Winterization notices: photograph any tags or stickers on fixtures or the water heater so your inspector knows the plumbing was drained.
Health and Safety Flags
- Pests: droppings, chewed wiring, nests, or mud tubes along the foundation.
- Possible mold: visible growth or strong musty odors, especially in basements and bathrooms.
- Paint in older homes: if the home was built before 1978, note any peeling or chipping paint. Federal rules generally require sellers of pre-1978 homes to disclose known lead-based paint hazards and give buyers 10 days to test, unless both sides agree in writing to change or waive that period. The rule excludes sales at foreclosure, such as the auction itself, but not a bank’s later resale of the home, so ask the listing contact for the lead disclosure. The EPA explains the lead disclosure rule.
Check the Neighborhood, Too
- Drive the commute at the time of day you would actually travel.
- Note traffic, parking, and noise from roads, rail lines, or flight paths.
- Find the grocery stores, parks, pharmacies, and other places you use most.
- Research school information, property taxes, and any homeowners association rules from official sources.
- Come back at a different time of day if you are serious about a home.
Before you go, neighborhood insights and street and satellite imagery can help you explore neighborhoods from home. On the road, open the map on your phone to spot other listings near you.
After the Tour: Compare, Share, and Verify
- Write notes the same day, while details are fresh, and match your photos to each home.
- Compare homes side by side on price, likely repairs, commute, and how each one felt.
- Share your favorites with family or a co-buyer so everyone can weigh in.
- Ask follow-up questions about utilities, offer deadlines, and the seller’s paperwork. Our list of questions to ask sellers can help.
- Get a professional inspection and contractor bids before you commit, and ask your inspector about add-ons such as a sewer line camera inspection. Our guide to what to inspect and budget for covers this step.
- Weigh the price against the condition with our guide to reading sales history and comps, and if repairs are significant, learn how renovation loans work.
The Bottom Line
A good viewing day will not tell you everything about a foreclosure or as-is home, but it will show you which homes deserve an inspection and which to cross off. Plan ahead, follow the rules, keep your hands off the utilities, and take careful notes.
MyHomeZilla makes viewing day easier. Save the homes you want to see, map out your route, request showings, keep track of open houses and viewings, and keep notes on each property as you visit. Then compare homes side by side, share them with family, and browse more fixer-uppers and as-is homes and foreclosure homes for your next tour.
This guide is for educational purposes only and is not financial or legal advice. MyHomeZilla is not a lender or government agency. Program rules change, so confirm current details with the program or a licensed professional before you act.